I wanted to write a little bit about my homelabbing adventures, so here we go! To start off: in the past I sometimes wanted to host stuff, like simple web services, but I never really knew how. I got started using a VPS at some point, to have as much control over what I was hosting as I possibly could at that point, but now that I have my own place, I can host even more and have even more control!
I might update this page as I add more hardware.
Current hardware (02-11-2025)
| Component | Type | Comment |
|---|---|---|
| Routers | ASUS RT-AX57 (AX3000) ASUS RT-AX55 (BO3100) | Works well, nice GUI |
| Switch | TP-Link LiteWave 8-Port (LS108G) | |
| ZigBee Dongle | SONOFF ZigBee 3.0 USB Dongle Plus, TI CC2652P | |
| Proxmox Nodes | 3x Lenovo M710q 1x MILLSE G2 Pro Mini PC | i3 6100T, 16GB RAM, 256GB SSD N150, 12GB RAM, 512GB SSD |
| NAS | HP MicroServer Gen 8 | Xeon E3-1260L, 16GB RAM, 128GB SSD, 2x 4TB HDD Mirror |
General tips
- Define fixed IP ranges for your DHCP server to remember them more easily. My setup:
192.168.50.1The router192.168.50.2-9Other networking devices / services, currently:192.168.50.2Pi hole LXC (master)192.168.50.3Pi hole LXC (duplicate, synced with nebula-sync)192.168.50.4Pi hole LXC (duplicate, synced with nebula-sync)192.168.50.8Tailscale Subnet Router LXC192.168.50.9Cloudflare tunnel LXC
192.168.50.10-19Proxmox nodes, currently:192.168.50.10Decomissioned Proxmox node 0 (Intel NUC5i3RYH)192.168.50.11Proxmox node 1 (Lenovo M710q)192.168.50.12Proxmox node 2 (Lenovo M710q)192.168.50.13Proxmox node 3 (Lenovo M710q)192.168.50.18Proxmox Datacenter Manager VM192.168.50.19Reserved for future Proxmox Backup Server
192.168.50.20-29Network storage, currently:192.168.50.20HP MicroServer Gen 8 (TrueNAS) Port 0192.168.50.21HP MicroServer Gen 8 (TrueNAS) Port 1192.168.50.22HP MicroServer Gen 8 iLO
192.168.50.30-39General services, currently:192.168.50.30VPS (Ubuntu Server VM)192.168.50.31Home Assistant (HAOS VM)192.168.50.32Firefly III LXC192.168.50.33Actual Budget LXC192.168.50.34Grafana LXC192.168.50.35InfluxDB LXC192.168.50.36Immich LXC192.168.50.37Vaultwarden LXC192.168.50.38NextCloud VM
192.168.50.40-49Media services192.168.50.40Jellyfin LXC192.168.50.41Sonarr LXC192.168.50.42Radarr LXC192.168.50.43QBitTorrent LXC192.168.50.44Prowlarr LXC192.168.50.45FlareSolverr LXC (disabled)192.168.50.46Byparr LXC192.168.50.47Bazarr LXC
192.168.50.50-199DHCP- Nebula-sync LXC (I don’t really care for this to have a static IP)
192.168.50.200-254Other devices (smart devices, phone, laptop, …)
My Journey
This text is in reverse chronological order, so the latest version is at the top.
A proper rack
I wanted my lab to look nice, so I decided to buy a 10 inch rack to fit everything in. I am fortunate enough to be able to get rack mounts 3D-printed at work, so I just had to get a rack and whatever else I wanted in there. I got a Wisecoco 7,84 inch display, which I epoxied to this rack mount for it. It was some effort to set it up with a grafana dashboard, but it works now! I also got an 8-way VGA switch so I can easily switch to whichever system and attach a keyboard for local debugging. I also 3D printed a patch panel and inserted some RJ45 keystones, and got some very short rainbow-colored patch cables to go with it. It was a lot of fun to put everything in the rack, and to tie together all the cables in a neat way. I also installed a Noctua fan at the top for some (very silent) airflow.
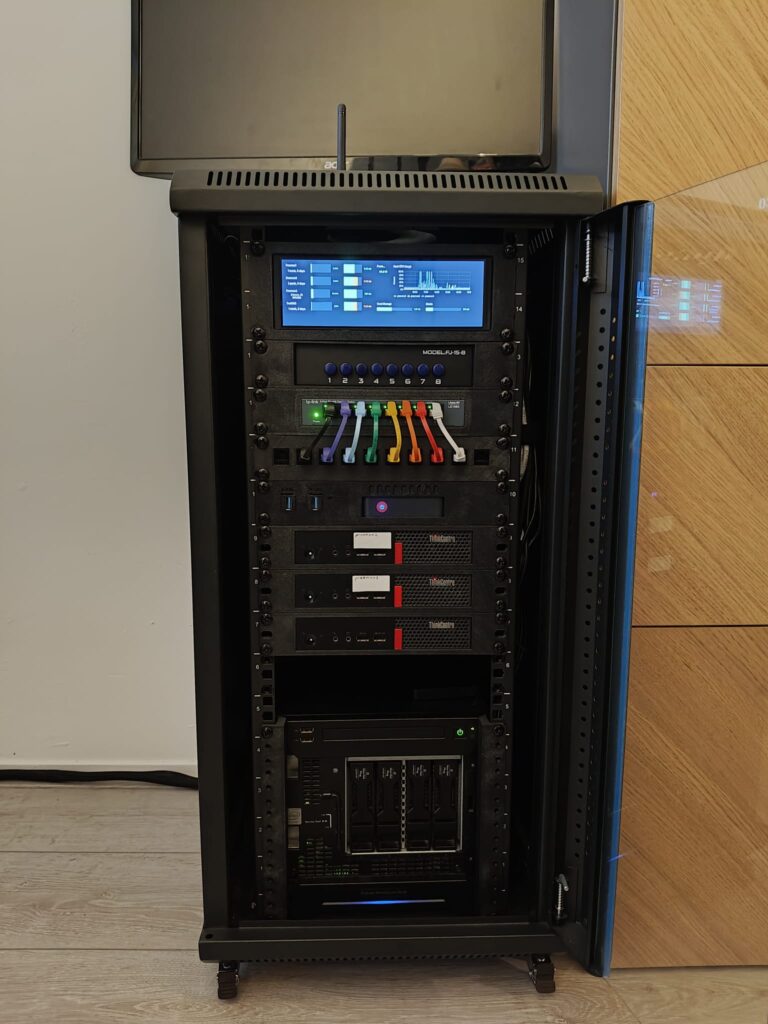
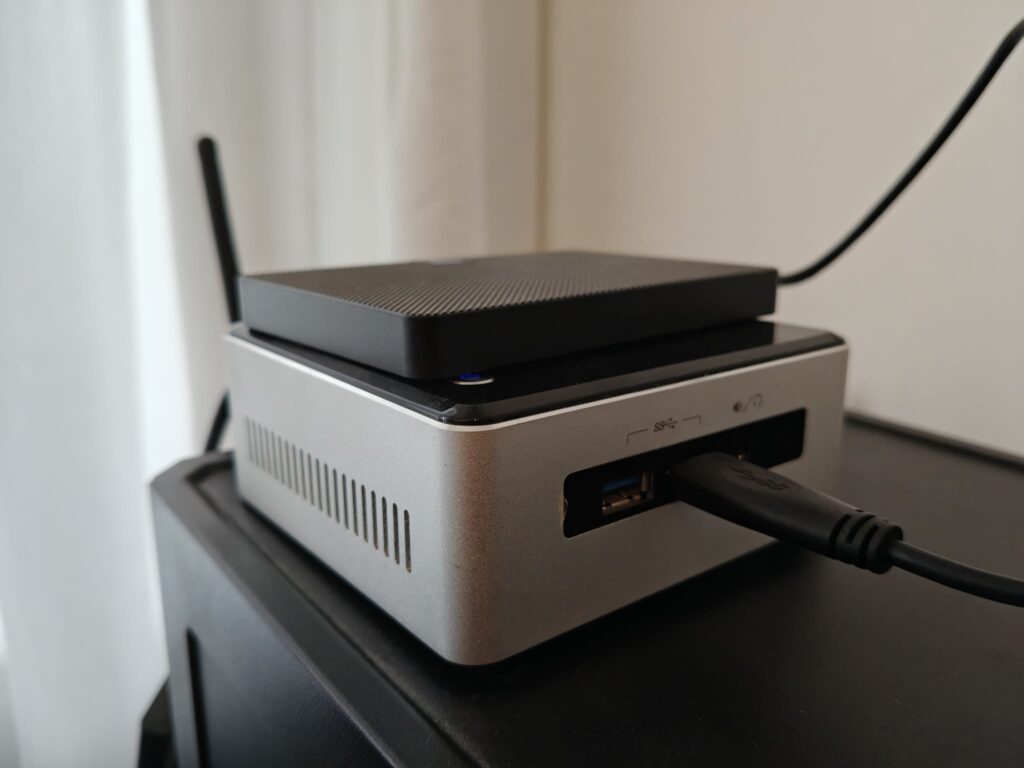
Sadly, the rack works as a faraday cage for my ZigBee dongle, so I had to put it on top with an extension cable, but I am very happy with how it looks now.
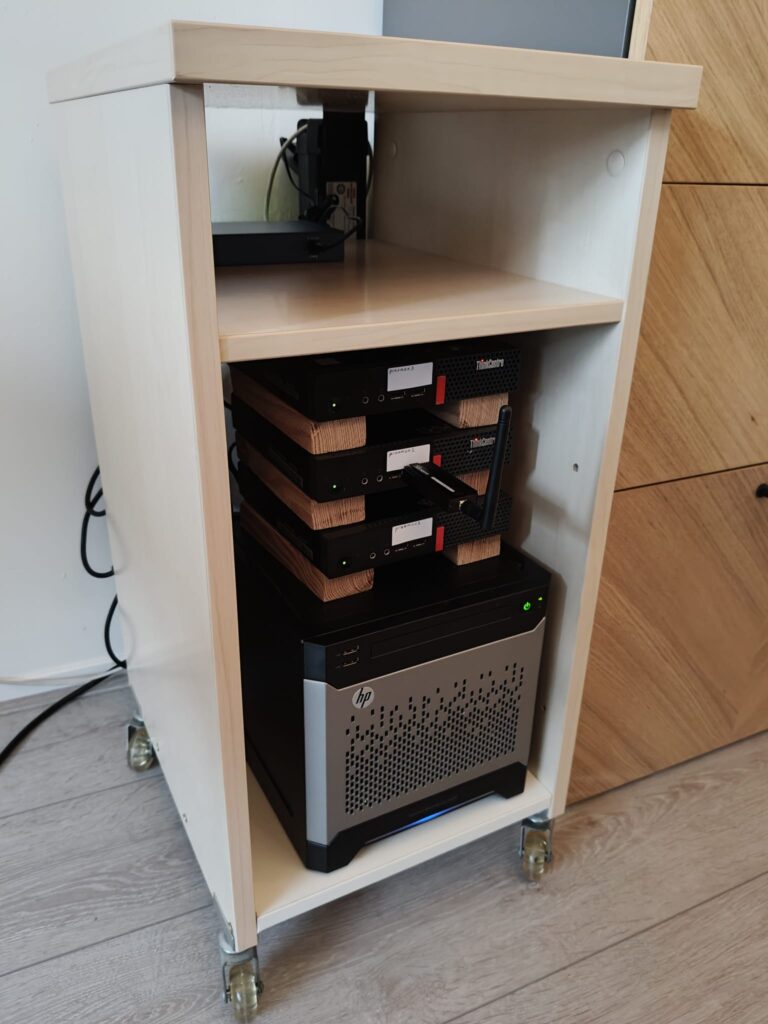
More power
I wanted to have a more robust system, as my NUC’s SSD was starting to fill up. I decided to buy 3 Lenovo m710q MFF Tiny PCs with 256 SSDs to distribute my different services across them, as well as hosting multiple piholes to ensure availability. To house all of this, I no longer wanted to just stack them on my office cabinet, so I decided to take an old cabinet with wheels, saw out the back panel, add a bottom panel and mount a plug box on the back.
Since my router no longer has enough ports to plug in all my hardware, I also got a TP-Link LiteWave 8-Port Gigabit network switch and some short length CAT5e cables to attach all of my new hardware.
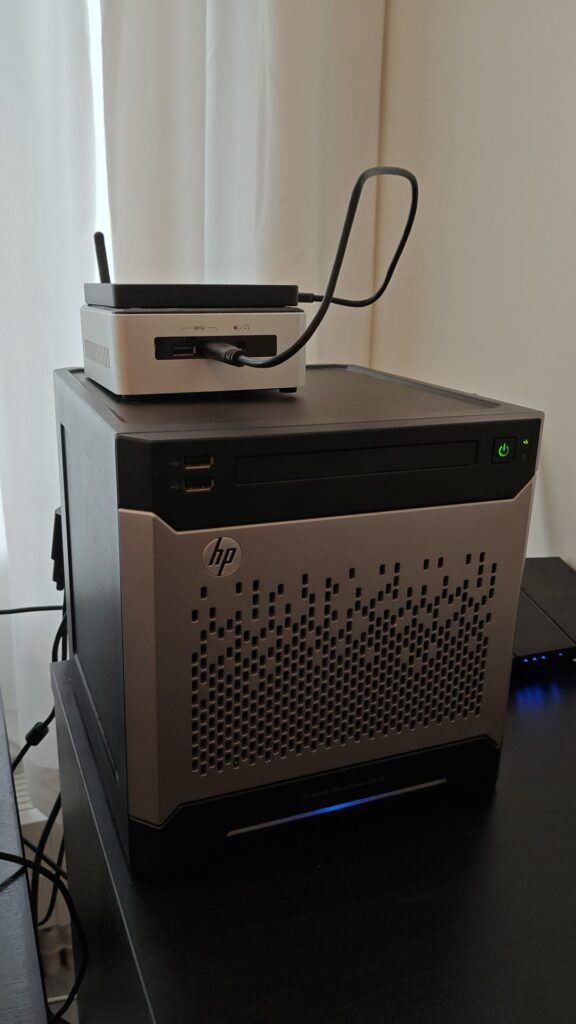
Added storage
I also wanted to have my own storage, so I bought an HP MicroServer Gen 8 (also second hand) with 2x 4TB 3.5″ HDDs. Getting set up there was a bit more annoying, as apparently booting from an SSD on the internal SATA port is complicated on the MicroServer Gen 8.
Baby’s first homelab
It doesn’t have to be expensive to start homelabbing, though it likely will become more expensive as you get more and more excited. I got started by buying my own router and buying an Intel NUC5i3RYH second hand, with a 128GB SSD and 8GBs of RAM. Quickly, I wanted to have more RAM available for all my services, so I upgraded the RAM to 16GB and bought a Zigbee dongle for integrating smart devices with Home Assistant. I wanted to have my own router (behind my ISPs router) so that I can configure everything that I want, and changing ISP would be a simple matter of just plugging in my new router, without having to reconfigure a bunch of stuff (made even easier with the Cloudflare tunnel I set up later!).