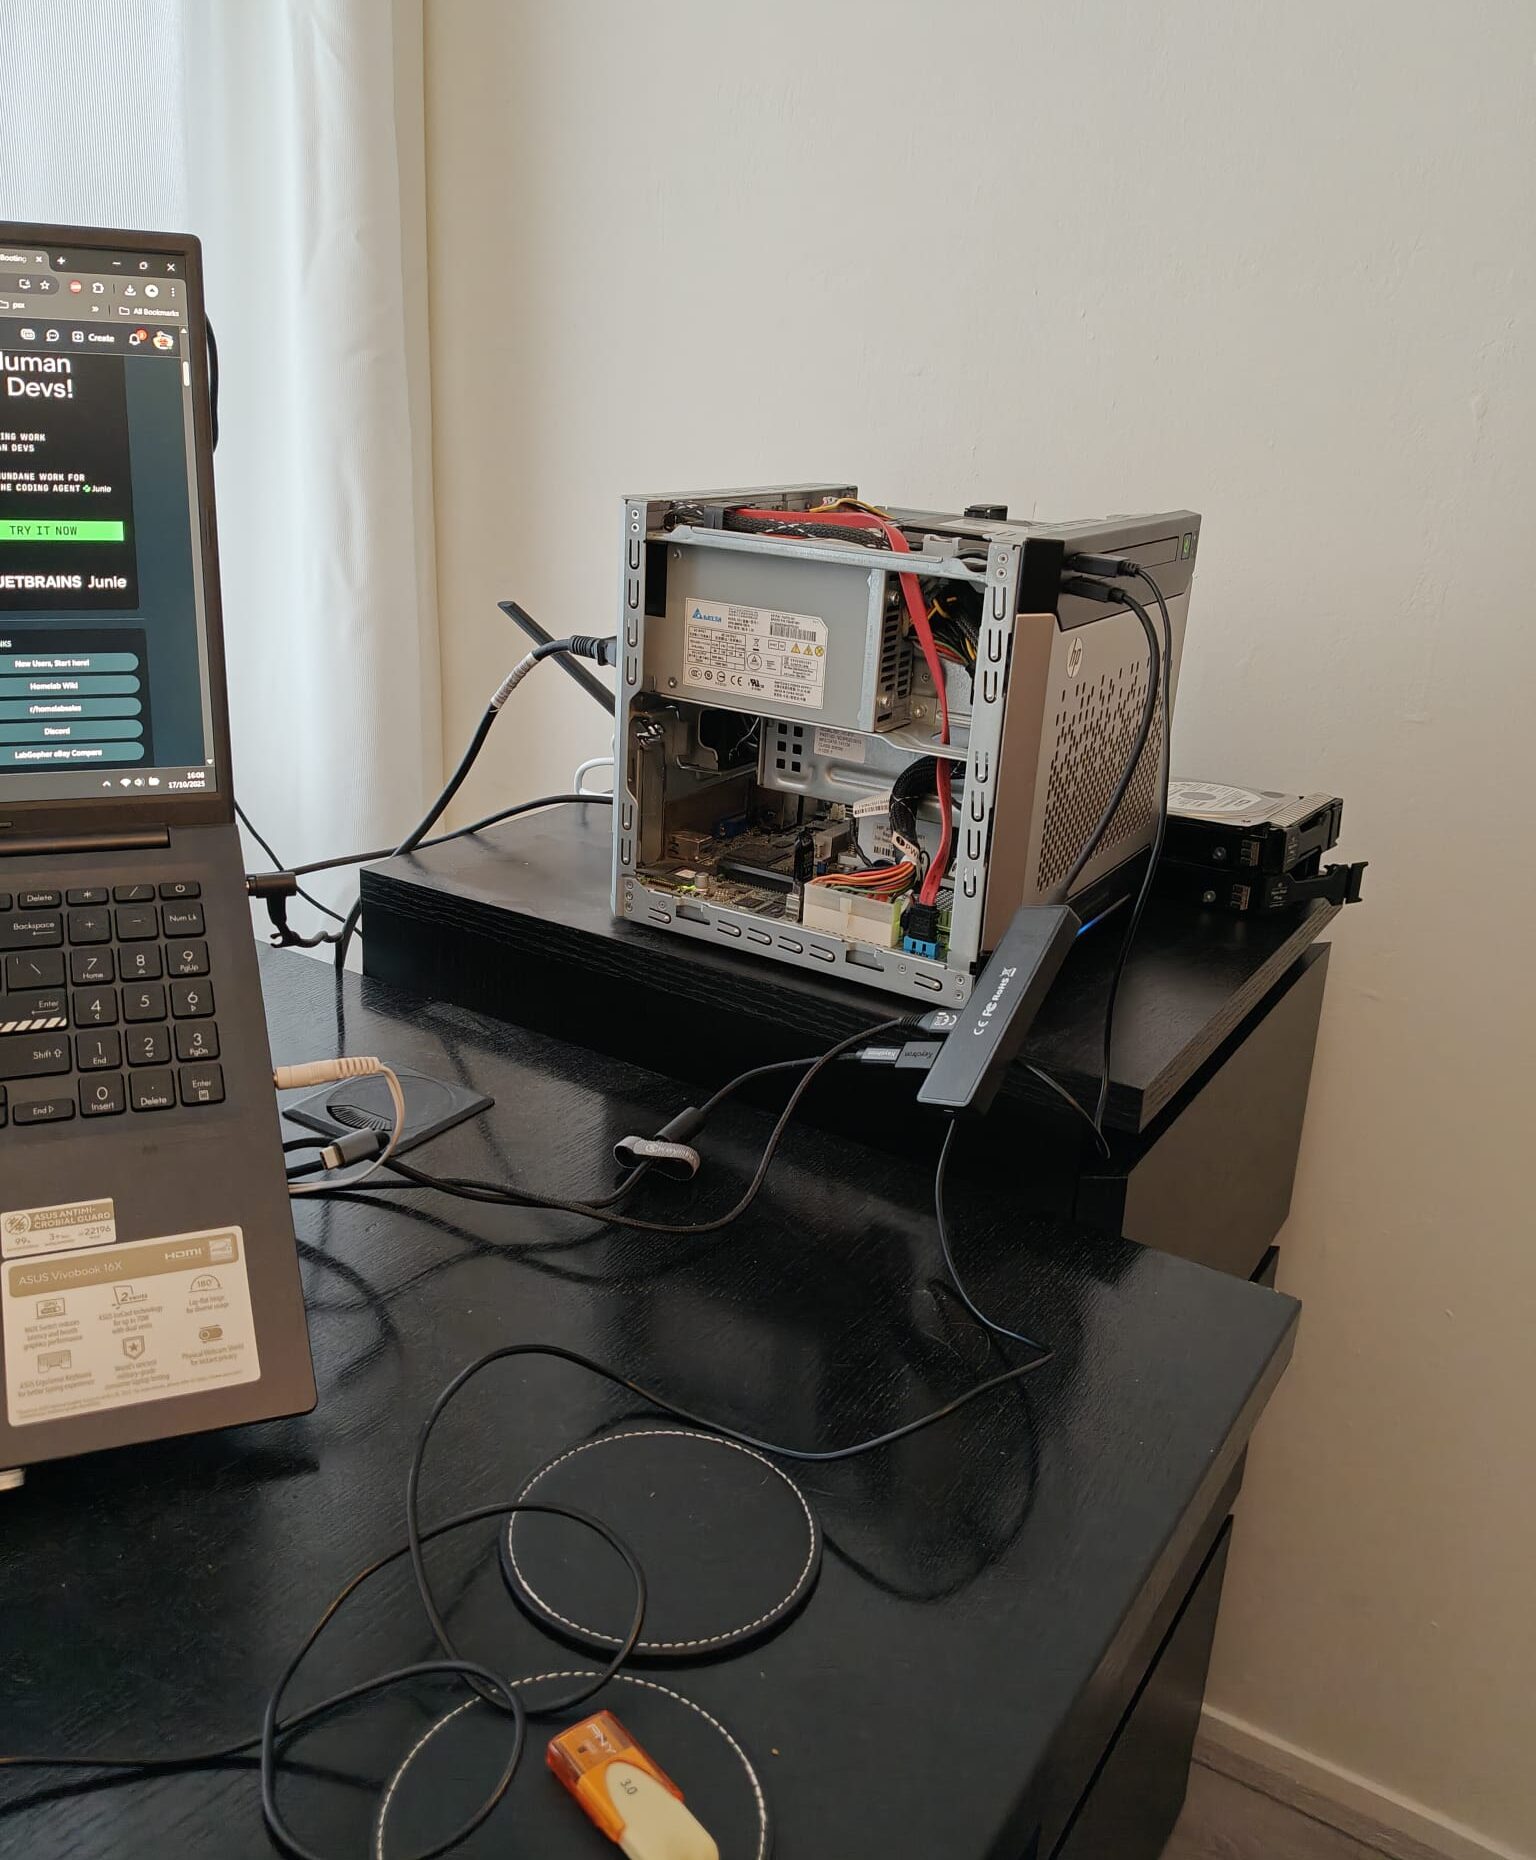
It’s a long title, worthy of the long time it took to get this working properly (even though there is one thing I did wish I do differently, but oh well, it works now). After having bought a second hand HP MicroServer Gen 8 (with an SSD already installed on the ODD port, though it ran unRAID), I figured out that it is notoriously hard to get the HP MicroServer Gen 8 to run its OS off of the internal ODD port (meant for optical drives). If you don’t install the OS properly, it will be installed in one of the drives in one of the 4 3.5″ HDD bays, meaning that you will NOT be able to remove, replace or change that drive (!). Since it would be a fresh install, and it would be my first NAS I wanted to do everything properly.
In short
Basically, in short why it is so annoying to install TrueNAS and boot it off of the ODD port (if I remember properly):
- The TrueNAS ISO doesn’t like to work together with Ventoy (at least, I couldn’t get it to work properly).
- You can boot off of the ODD port, but only if you have the SATA controller set to legacy mode, which has significant performance implications.
- In AHCI mode, the secondary SATA controller (with the ODD) port is not considered for boot.
- The internal USB port and SD card readers are considered for boot, so you have to install your OS on your ODD-connected SSD, and install a bootloader on the internal USB, then boot from the USB.
What I wish I did differently
Apparently, apps in TrueNAS have to be assigned some pool to log to. This cannot be the boot pool, but since I didn’t partition the SSD before installing TrueNAS, I wasn’t able to use the SSD for this. In the end, I just stuck a USB stick in one of the back USB ports, created a pool with that and used it for apps, since the intermittent logging from Tailscale made my HDDs spin up every 5 seconds or so (they should be able to idle most of the time, as the NAS will not be running anything other than TrueNAS itself). I already started using it (I started using it before installing Tailscale, so it wasn’t running any apps) so it was too late to start over for me at that point.
In short, my tip for anyone out there is: partition your boot SSD before installing TrueNAS to use as an app pool. I haven’t done this myself, so I can’t tell you how to do this exactly, but it should be possible. It will save you a USB stick (and some annoyance). Of course, if you don’t care about the noise, since your NAS may be stuffed away in some back corner in your house, it might not matter, but I did feel that it’s probably good for the HDDs’ lifetimes to not spin up and down every 5 seconds for all eternity.
Installing TrueNAS on the MicroServer Gen 8
I mainly followed this tutorial. What you will need and some preliminaries:
- A bootable USB with the latest TrueNAS ISO installed in
ddmode - A Ventoy USB stick with the latest Ubuntu image on it (unless you are on Linux already, then you may be able to do this directly on your existing PC).
- A USB stick (or SD card) to leave inside of your MicroServer Gen 8 to boot off of
- Configured your BIOS settings properly (F9 on boot):
- Set the SATA controller mode to AHCI.
- The KeyStone USB is set as the first option in the boot order. You may also want to set the USB boot order to have the “Internal” USB port first (we will be booting off of this later anyway).
- If you are using an SD card, you may have to set that as the first option after installing everything.
- Remove all drives from your HDD bays. I did this to make sure that the OS was not accidentally installed to one of my HDDs. Note that the HP MicroServer Gen 8 does not support hotswap (though this practically means that the components may get damaged if you do attempt to hot swap them).
- I don’t remember exactly but it may have been the case that the installer didn’t like being ran without any drives in the bays. I had some old drives, so I decided to just put those in the bays, and then replace them later.
To install TrueNAS, we first install TrueNAS SCALE on the SSD and then install GRUB on the other USB Stick / SD Card.
- If you want to partition your SSD before installing TrueNAS, do it now! You may have to boot into Ubuntu from your Ventoy USB and then run some commands, I haven’t done this so I am not sure how but you might be able to find this online. It is to create a datapool for your apps on the SSD.
- Plug in the TrueNAS ISO USB and boot into it.
- You should be able to get an option to install TrueNAS SCALE.
- Select your SSD (which should be the only drive that is connected. If your SSD is the the only drive that is connected, and TrueNAS SCALE does NOT allow you to install (errors like “unable to read C/H/S” or other errors), you may want to try some of the following options:
- Set the SATA controller mode to Legacy in the BIOS temporarily for the TrueNAS installation, then revert it before we go to installing GRUB.
- You may also have to set the “Coot Controller Order” so that the ODD port’s SATA controller is first (that means having Sata Controller #2 as the first option).
- If this fails, you may also plug in some HDDs into the bays to see if that gets it to find the SSD. The most important thing is that TrueNAS SCALE is in fact installed to your SSD, and not your HDDs.
- Let it install, then power down your system after it is done.
- You may want to revert any of the BIOS settings you changed for the installer at this point.
- Boot into Ubuntu (either on your existing system or through the Ventoy USB with Ubuntu)
- Insert a fresh USB stick into an external USB port, or the SD card into an SD slot. We will be installing GRUB on this and leave this stick inside the MicroServer to boot off of. If your USB stick / SD card is not fresh, you may do the following from Ubuntu to clear it. Open a terminal and do the following:
- Run
sudo blkidto identify your USB stick. If you can’t determine which it is based on the names, you may runlsblkand check based on the volume sizes. Let’s assume your USB stick is/dev/sdb1 - Run
sudo dd if=/dev/zero of=/dev/sdb bs=4k status=progress && syncto zero out the USB stick. This might take a while, it took about 15 minutes to clear a 16GB stick for me. The argumentstatus=progressshould work, though I didn’t try it at that time, since it wasn’t in the original post I took these instructions from. If you did start it without this argument, you may want to open another terminal and runwatch -n5 'sudo kill -USR1 $(pgrep ^dd$)'ddprocess every 5 seconds, but don’t worry, it will not stop the process, it will merely print the current status in the terminal runningddfor you to track progress. - You are done! You don’t need to create a new partition on the drive, as we will do this later on in the tutorial.
- Run
- We will now install GRUB on the USB stick / SD card. We will still assume it is in
/dev/sdb, though you may have to replace that with the location of your USB stick. We first partition the USB stick:- Run
fdisk /dev/sdband answer the prompts as follows:nto create a new partition- Set to
pfor “primary” (default) 1to select the first partition (default)- Leave everything as is in the first sector
+128Mto create a 128MB partitionato set the start flag- You may have to enter
1to choose the first partition if it didn’t automatically wto save and apply
- Create a file system by running
mkfs -t ext2 /dev/sdb1 - Mount the SD card somewhere
mkdir /tmp/usbmount /dev/sdX1 /tmp/usb
- Make the folder where GRUB will live (this must be named
boot)mkdir /tmp/usb/boot
- Install GRUB
grub-install --boot-directory=/tmp/usb/boot /dev/sdb- This will populate
/tmp/usb/boot/gruband put a boot block on the USB stick / SD card
- Create the GRUB configuration
nano /tmp/usb/boot/grub/grub.cfg(or your another editor if you prefer)
- Fill it with the file contents below. Afterwards, save it, close it and unmount your USB stick / SD card with
cd /and thenumount /tmp/usb- Beware: The hdX references WILL NOT line up with
/dev/sdXreferences fromdmesgonce Linux has booted. The hdX numbers appear to reflect drives actually installed in the not-actually-hot-swap SATA bays and the optical drive port. - Note: This is all from the BIOS’s perspective. What this gives me, in my circumstances, is a way to boot from the SSD on the optical drive SATA connector, whether I’ve got 0, 1, 2, 3 or 4 drives in the not-actually-hot-swap SATA bays. You can use the default variable to pick which one will be chosen once the 10 second timeout expires, and I assume it’ll fall back to a prompt if, say, you’ve added or removed a drive causing the TrueNAS drive to change number. This example shows
default=2as I had two HDDs in the 6Gbps SATA slots, two empty bays, and the boot drive. Hence, the third entry in the menuentry items is the one corresponding to hd3, my boot drive. Add more drives in the not-hot-swap bays, and the drive in the optical slot gets bumped to hd4 or hd5.
- Run
set default='2'
set timeout='10'

menuentry 'TrueNAS SCALE hd5' {
    set root=(hd5)
    chainloader +1
}

menuentry 'TrueNAS SCALE hd4' {
    set root=(hd4)
    chainloader +1
}

menuentry 'TrueNAS SCALE hd3' {
    set root=(hd3)
    chainloader +1
}

menuentry 'TrueNAS SCALE hd2' {
    set root=(hd2)
    chainloader +1
}

menuentry 'TrueNAS SCALE hd1' {
    set root=(hd1)
    chainloader +1
}
After following these instructions, you can shut down your MicroServer. Pull out the Ventoy Ubuntu USB (if you were not doing this on your own Linux-based system), put the GRUB-installed USB stick / SD card in the internal slot in your MicroServer, and you should be able to boot into the TrueNAS SCALE OS on the SSD in your ODD slot. You will see the GRUB menu first, which should have the correct hdX option selected, it will automatically boot this option, which will show the TrueNAS SCALE boot options, and then automatically boot into TrueNAS scale.
Configuration after install
There are some configurations I changed after installing TrueNAS.
Disabling video output after inactivity
To clear the console to black after a period of no interaction, see this forum comment. Basically, in the terminal (either directly on the server or through the web UI System > Shell), run
midclt call system.advanced.update '{ "kernel_extra_options": "consoleblank=60" }'This will make the entire screen black. Note that this does not completely disable video output. In order to disable video output completely, we do the same as we have done for Proxmox hosts. You will need to do this from the actual shell, by first opening a Linux shell.
Create and edit the script file: nano /root/down_monitor.sh and add the following lines:
    #!/bin/bash
    setterm -term linux -blank 1 -powersave powerdown -powerdown 1 </dev/tty1 >/dev/tty1
Then we need to enable the script with:
chmod +x /root/down_monitor.sh- run
crontab -e, select your favorite editor and add a line@reboot /root/down_monitor.sh - Run
bash /root/down_monitor.shto enable it for this session.
Your video output should disable after 1 minute of inactivity now, it is good to first give this a try.
Setting power saving options in the BIOS
I just took advice from this forum post and set the following settings in the BIOS:
- System Options
- Embedded NICs: Network boot disabled for both (unless you PXE boot from the Network)
- USB Options>Removable Flash Media Boot Sequence: Internal DriveKeys First (that is where XPEnology lives)
- SATA Controller Options>Embedded SATA Configuration: Enable SATA AHCI Support
- SATA Controller Options>Drive Write Cache: Disabled
- Power Management Options
- HP Power Profile: Set to Custom
- HP Power Regulator: OS Control Mode
- Power Management Options>Advanced Power Management Options:
- Intel QPI Link Power Management: Enabled
- Minimum Processor Idle Power Core State: C1E State
- Minimum Processor Idle Power Package State: Package C6 (retention) State
- Maximum Memory Bus Frequency: I set mine to 1333MHz (This depends on your RAM)
- Memory Interleaving: Full Interleaving
- PCI-E Gen 3 Control: I disabled mine because I have no use for it, helps with power draw. If you have something plugged in don’t disable.
- Dynamic Power Savings Mode Response: Fast
- Collaborative Power Control: Enabled
- DIMM Voltage Preference: Optimized for Power, again this depends on your RAM
- Server Availability
- Wake-On LAN: Enabled
- Thermal Shutdown: Enabled
- Power Button: Enabled
- Automatic Power-On: Restore Last Power State
- Advanced Options > Advanced System ROM Options
- MPS Table Mode: Full Table APIC
- Power-On Logo: Disabled, it speeds up the bootup time and still has a prompt for F9 to get into BIOS.
Disk spindown script
There is a disk spindown script for TrueNAS SCALE. I guess this shouldn’t really be used as power saving option, as it doesn’t really save much power. I mostly ran it to reduce noise, as my NAS is primarily for storing movies, Proxmox images, and in the future also photo backups. For now that means that the use of it is mostly at night or whenever I am not sitting right next to it in our office. Find the script here (fork on my own GitHub). Follow the instructions in the README to install, especially the instructions to test whether the script is running is useful.
PowerTOP
You can run powertop on boot by adding a post-init script in the advanced settings with powertop --auto-tune as command.
Resetting iLO password
You can enter the iLO setup by pressing F8 on boot. Reset the iLO password by going to Users > Edit and editing the Administrator user.
Disabling iLO
See this blog post. It may save a few watts to completely disable iLO, which I am not using anyway. To disable it:
- Enter iLO RBSU: Press F8 during the Power-On Self-Test (POST) to access the iLO configuration utility.
- Navigate to Configuration Settings: Select Settings -> Configure, and press Enter.
- Modify iLO Functionality: Select the iLO Functionality option and press the Spacebar to toggle the setting between ENABLED and DISABLED. A warning message will be displayed when selecting DISABLED.
- Save Configuration: Press F10 to save the modified settings.
- Exit iLO RBSU: Select File -> Exit to close the utility.
When managing iLO (Integrated Lights-Out) functionality on HP servers, disabling and re-enabling iLO requires specific steps involving both RBSU (ROM-Based Setup Utility) and the system board’s iLO Override Switch.
To re-enable iLO using the Security Override Switch:
- Power down the server completely.
- Set the S1 system maintenance switch to the ON position. (See the manual, under “Component Identification > System Maintenance Switch”, you will see the different controls for the different switch numbers. They are small switches, that you can toggle carefully using a flat head screwdriver).
- Power on the server and wait for the F8 prompt to appear. Press F8 to enter iLO RBSU.
- Re-enable iLO through the configuration utility.
- Power off the server again.
- Return the S1 switch to its default OFF position.
Setting ZFS cache level for cold datasets
If you have some backup datasets on your TrueNAS system, you may want to set the ZFS cache level, so that cold datasets don’t flood your ZFS cache. You can do this by running
sudo zfs set primarycache=metadata data-backup/photos-backupAnd
sudo zfs set secondarycache=metadata data-backup/photos-backupHardware Modding
RAM
I updated the RAM to 16GB (the max supported). The MicroServer Gen 8 is very specific about what RAM you can install: it needs to be unbuffered DDR3 ECC RAM. And at most 16GB (2x8GB). I got this set: DDR3 16G 2x8GB ECC UDIMM PC3L-12800E Ram für HP ProLiant Microserver Gen8 G1610T and it works well.
Fan
Updating the fan is kind of tough because of the proprietary 6 pin fan connector (with inverted PWM) as opposed to a standard 4 pin connector. I have tried this HP Microserver Gen8 Special 6 Pin to Standard 4 Pin PWM Adapter Cable from MODDIY. I tried it with a 1700RPM Noctua fan, but it intermittently errors out when booting with that. I will try with a higher RPM fan later.
Manual
Find the manual for the HP ProLiant MicroServer Gen 8 below.
Skip to PDF content